1. Install Mail Merge on your Google account
Make sure that you have already installed Mail Merge on your Gmail or G Suite account.
2. Import your recipients to Google Sheets
You also need to have your contact list ready. After installing the add-on, an informative bubble indicates where to go on the Google Sheets menu to open Mail Merge. You can close the bubble, a new sheet with predefined template will be create for you, just fill in your contact email in the correct column for each record manually.

Your spreadsheet should follows the predefined template:
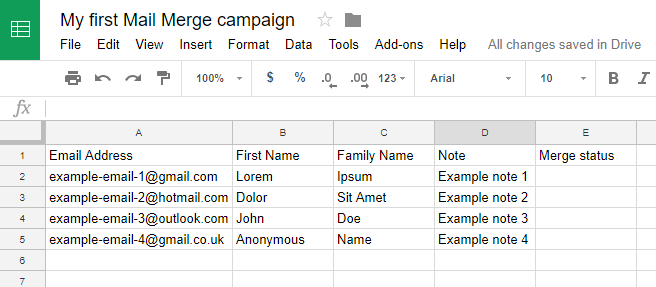
You can then fill the other columns with information that you need for your campaign.
1. Create your Gmail template
Go now to your Gmail box to create an email template:
In our following example, we're sending a simple greetings email. We added two markers, ${"First Name"} and ${"Family Name"} to personalize the emails with data from the spreadsheet (learn more).

Close your template to save it in your Gmail draft.
2. Start your mail merge using Mail Merge
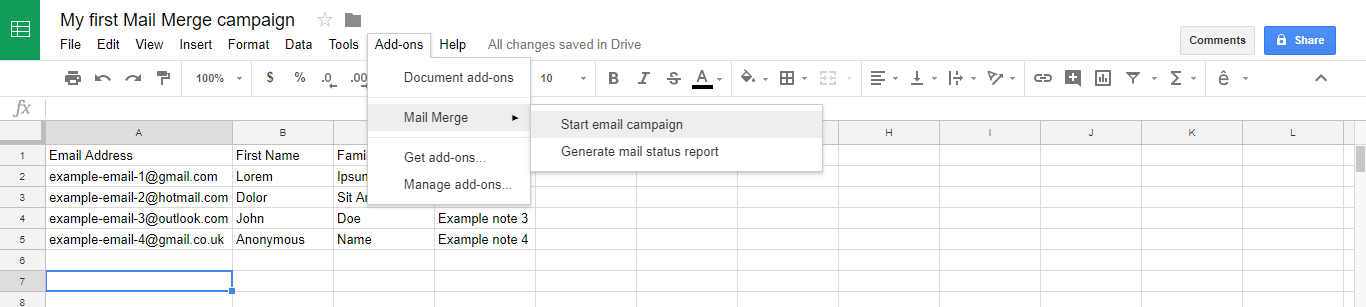
Go back to your spreadsheet, and click Add-ons > Mail Merge > Start email campaign:
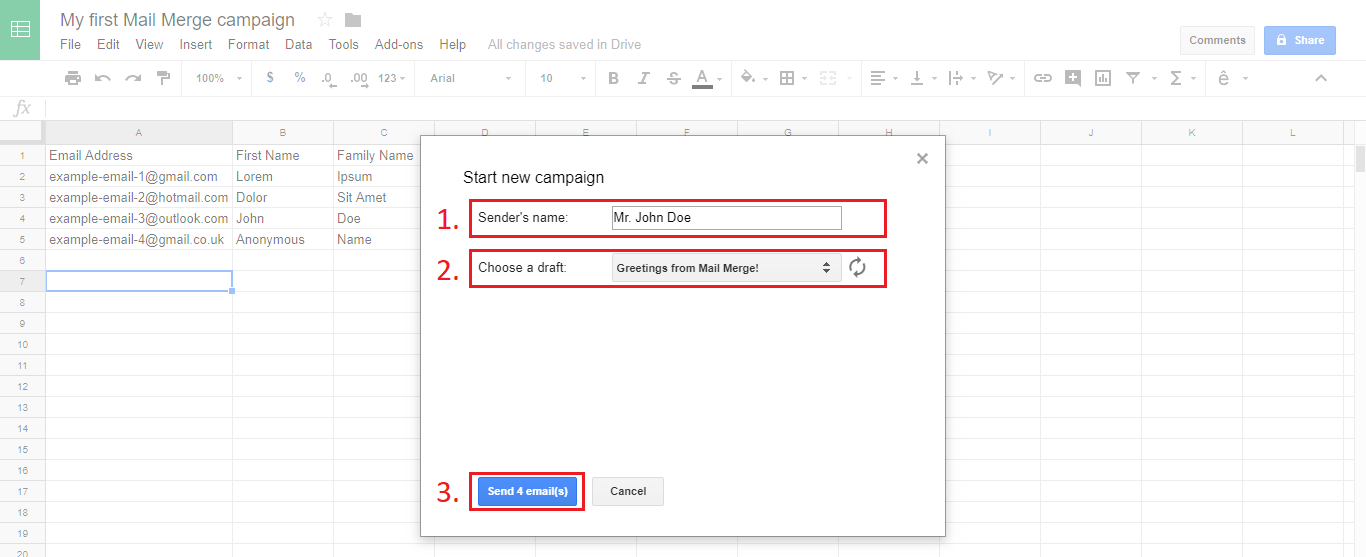
Once done, enter your Sender Name and choose your Gmail draft. Then click 'Send mails' to start your mail merge campaign:
Congratulations! You have now successfully sent your first campaign with Mail Merge. Here's an example of what your recipients received in their inbox:

And that's it! Please enjoy using our free add-on and feel free to Contact Us anytime. We are happy to support you!